
Vista 21IP Manual: Comprehensive Article Plan (04/09/2026)
Today’s date is 04/09/2026 02:08:37. This manual guides installation, operation, and maintenance of the Vista-21Ip, alongside troubleshooting assistance for optimal performance.
Welcome to the Vista 21IP security system! This advanced system provides robust protection for your property, utilizing cutting-edge IP communication technology. This manual serves as your comprehensive guide, designed to empower you with the knowledge to effectively install, program, and maintain your new security infrastructure.
The Vista 21IP represents a significant leap forward in security technology, offering enhanced reliability and flexibility compared to traditional systems. It’s built for both residential and commercial applications, providing scalable solutions to meet diverse security needs. This document details everything from initial setup and user management to advanced programming options and troubleshooting procedures.
We encourage you to read this manual thoroughly before beginning installation or programming. Understanding the system’s capabilities will ensure a smooth and secure experience. Let’s begin your journey towards a safer and more protected environment!
System Overview & Key Features
The Vista 21IP system is a fully featured, expandable control panel designed for comprehensive intrusion detection. Key features include robust IP communication for reliable alarm reporting, offering a secure connection to central monitoring stations. It supports a large number of zones, accommodating extensive property coverage, and boasts advanced user access control with customizable permission levels.
Furthermore, the system incorporates a flexible programming interface, allowing for tailored configurations to suit specific security requirements. Built-in battery backup ensures continued operation during power outages, while firmware update capabilities guarantee ongoing system enhancements and security patches. The Vista 21IP also offers potential integration with smart home ecosystems for unified control.
Its architecture prioritizes reliability and scalability, making it an ideal choice for both residential and commercial security applications.
Unpacking and Initial Inspection
Upon receiving your Vista 21IP system, carefully inspect the packaging for any signs of damage incurred during shipping. Once opened, verify that all components listed on the packing slip are present. This includes the control panel, power supply, battery, and any ordered accessories like keypads or wireless receivers.
Thoroughly examine each component for physical damage, such as cracks, dents, or loose connections. If any damage is detected, immediately contact your supplier and the shipping carrier to file a claim. Retain all original packaging materials for inspection purposes.
Ensure the control panel’s serial number matches the one on the packing slip and warranty documentation. Proper initial inspection is crucial for a smooth installation process.
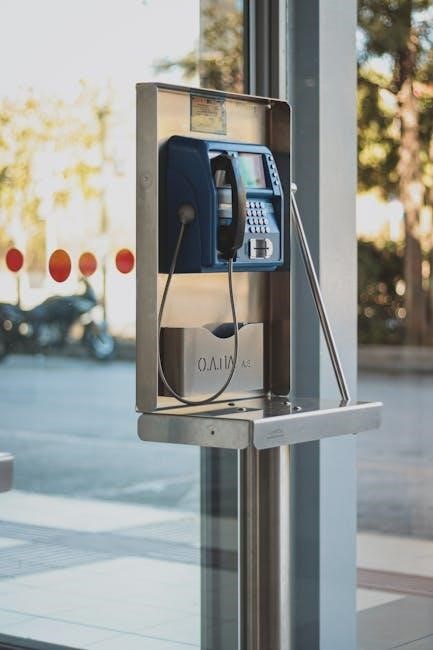
Panel Installation
Proper panel installation is fundamental to the reliable operation of your Vista 21IP system. Before commencing, ensure the chosen location meets all requirements – a secure, dry, and easily accessible space near a power outlet and communication lines.
Mounting the control panel requires appropriate hardware, suitable for the wall type. Securely fasten the panel, ensuring it’s level and stable. Careful wiring is paramount; strictly adhere to all local electrical codes and the wiring diagrams provided.
Double-check all connections before applying power. Incorrect wiring can cause system malfunction or damage. A professional installation is highly recommended for those unfamiliar with electrical work.
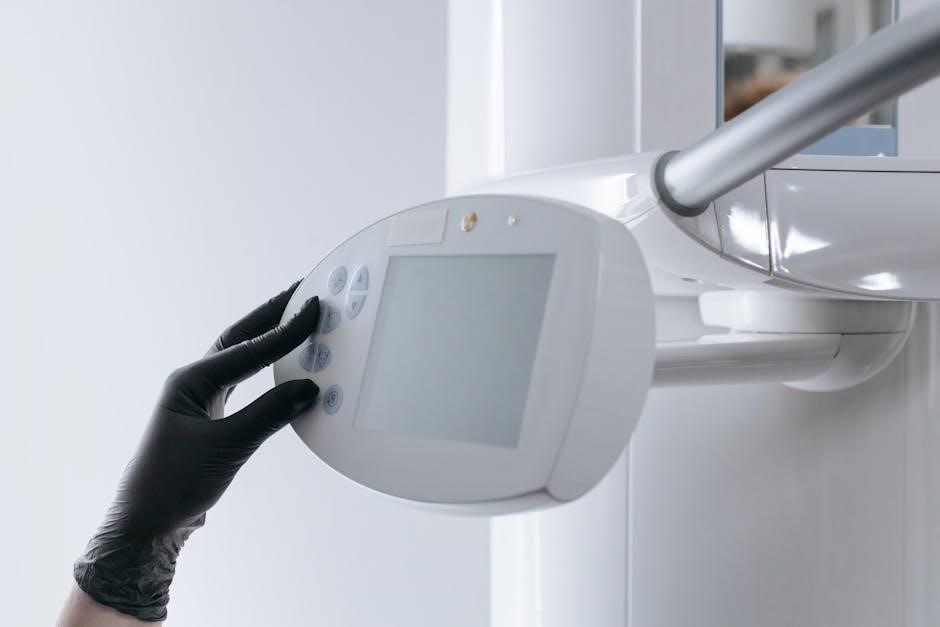
4.1 Mounting the Control Panel
Securely mounting the Vista 21IP control panel is crucial for long-term stability and functionality. Begin by selecting a suitable indoor location, protected from extreme temperatures and moisture. Utilize the provided mounting template to mark drill points accurately on the wall surface.
Employ appropriate screws and wall anchors, chosen based on the wall’s construction material (drywall, concrete, etc.). Ensure the screws are long enough to securely penetrate the wall, but not so long as to damage internal components.
Level the panel before fully tightening the screws. A level panel ensures proper operation and a professional appearance. Verify the panel is firmly attached and cannot be easily dislodged.
4.2 Wiring Considerations
Proper wiring is paramount for a reliable Vista 21IP system. Always disconnect power before commencing any wiring work. Utilize appropriately sized wiring, conforming to local electrical codes, to prevent voltage drop and ensure consistent performance.
Clearly label all wires during installation for easy identification during maintenance or troubleshooting. Maintain separation between low-voltage and high-voltage wiring to avoid interference and potential hazards.
Securely connect all wires to the designated terminals on the control panel, ensuring a firm and reliable connection. Double-check all connections before restoring power to prevent short circuits or system malfunctions.
Programming Fundamentals
Understanding the Vista 21IP’s programming structure is crucial for customization; The system utilizes a flexible programming model, allowing tailored configurations for diverse security needs. Key elements include defining user codes, zone types, and communication protocols.
Programming involves assigning specific attributes to each zone, determining its function within the security system – entry/exit, interior, or perimeter. User access levels dictate permitted actions, enhancing security control.
Familiarity with the programming logic enables efficient system setup and modification. Careful planning and accurate input are essential for optimal performance and reliable alarm reporting.
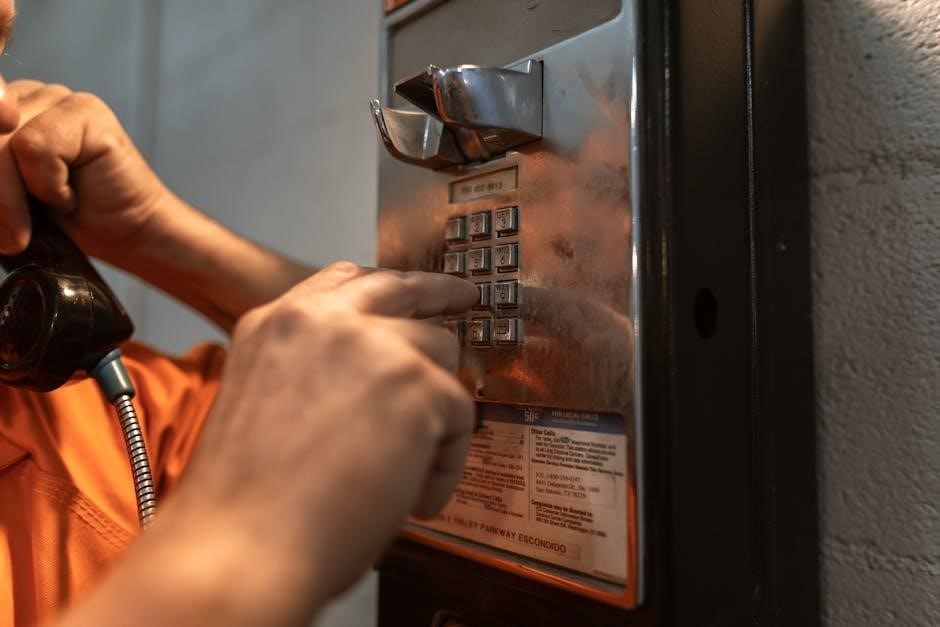
Accessing the Programming Mode
Entering programming mode on the Vista 21IP requires a valid master access code. This safeguards against unauthorized changes to the system’s configuration. Typically, this is initiated through a specific sequence of key presses on the keypad, often involving the ‘*’ and ‘#’ keys.
The system will prompt for the master code; incorrect attempts may trigger a temporary lockout for security. Upon successful entry, the keypad display will indicate programming mode, usually with a flashing indicator or a specific message.
Refer to the detailed programming guide for the exact key sequence, as it may vary based on firmware version. Always document your master code securely.
User Code Setup
Establishing unique user codes is crucial for system security and accountability. Each authorized user requires a distinct code for arming, disarming, and interacting with the Vista 21IP panel.
Within the programming mode, navigate to the user management section. Here, you can add new users, assign individual codes (typically 4-6 digits), and define their respective access levels. Avoid easily guessable codes like birthdays or sequential numbers.
Proper user code management enhances security and allows for detailed event log analysis, identifying who armed or disarmed the system at specific times. Regularly review and update user codes as needed.
7.1 Adding New Users
To add a new user to the Vista 21IP system, first enter the programming mode using your master access code. Navigate to the “User Management” section within the programming menu. Select the option to “Add New User” and the system will prompt you for a unique user number.
Assign an available user number, then enter a personal identification code (PIC) for the new user. Ensure the PIC is not easily guessable and adheres to the system’s length requirements. Define the user’s access level and associated permissions.
Confirm the entered information and save the new user profile. Repeat this process for each additional user requiring system access.
7.2 User Access Levels & Permissions
The Vista 21IP system utilizes tiered user access levels to control system functionality. Typically, levels range from Master User (full control) to Standard User (limited access) and Guest User (restricted capabilities). Master users can modify all system settings, add/delete users, and view comprehensive event logs.
Standard users generally arm/disarm the system and manage their own PICs. Guest users may have temporary access codes with limited timeframes and zone access. Permissions dictate specific actions each level can perform, like bypassing zones or viewing reports.
Carefully configure access levels to ensure appropriate security and prevent unauthorized system modifications.
Zone Programming
Zone programming defines how each sensor input behaves within the Vista 21IP system. This involves assigning a zone type – Entry/Exit, Interior, 24-Hour, or Fire – dictating its response to alarm conditions. Proper zone definition is crucial for accurate alarm verification and minimizing false alarms.
Each zone requires a unique number and descriptive name for easy identification. Configuration options include entry/exit delays, instant alarm triggers, and tamper protection settings. Zones can also be programmed for specific communication behaviors, like reporting zone faults or alarm events.
Thorough zone programming ensures reliable security coverage.
8.1 Defining Zone Types (Entry/Exit, Interior, etc.)
Zone types dictate how the Vista 21IP system responds to sensor activations. Entry/Exit zones allow a defined delay for arming/disarming, preventing false alarms during access. Interior zones trigger an immediate alarm when activated while the system is armed. 24-Hour zones remain active regardless of arming status, ideal for glass break sensors.
Fire zones are specifically for smoke and heat detectors, initiating a distinct alarm sequence. Instant zones trigger an alarm immediately, bypassing any delay. Selecting the correct zone type is vital for accurate alarm reporting and efficient security management.
Careful consideration ensures optimal system performance.
8.2 Zone Configuration Options
Beyond basic zone types, the Vista 21IP offers granular configuration options. These include zone looping, allowing a single sensor to represent multiple zones, and zone bypass, temporarily disabling a zone without disarming the system. Sensitivity adjustments minimize false alarms caused by environmental factors or pet activity.
Supervisory options monitor zone wiring for faults, ensuring sensor integrity. You can also configure zones for specific alarm responses, such as silent alarms or prioritized reporting. These settings are crucial for tailoring the system to individual needs and maximizing reliability.

Proper configuration enhances system effectiveness.
Communication Settings
The Vista 21IP system boasts versatile communication capabilities, primarily through IP and, optionally, cellular networks. Configuring these settings is vital for reliable alarm reporting and remote access. IP communication requires a stable internet connection and proper network configuration, including assigning a static IP address or utilizing DHCP.
Cellular communication, if a module is installed, provides a backup communication path during internet outages. This requires a valid cellular account and proper APN settings. The system supports various reporting protocols, ensuring compatibility with central monitoring stations.

Secure communication is paramount for system integrity.
9.1 IP Communication Setup
Establishing IP communication involves several key steps. First, ensure the control panel is physically connected to the network via Ethernet cable. Access the programming mode and navigate to the communication settings menu. You’ll need to configure the panel’s IP address, subnet mask, default gateway, and DNS server settings.
Choosing a static IP address is recommended for consistent connectivity, but DHCP can be used if a static IP isn’t available. Verify network connectivity by pinging the panel from a computer on the same network. Proper port forwarding may be necessary for remote access.
9.2 Cellular Communication (if applicable)
If your Vista-21IP system includes cellular communication capabilities, proper setup is crucial for backup alarm reporting. Begin by ensuring a compatible SIM card is installed and activated with a service provider. Within the programming mode, access the cellular settings menu to configure the APN (Access Point Name), username, and password provided by your cellular carrier.
Signal strength should be verified to ensure reliable communication. Test the cellular connection by initiating a test report to the monitoring station. Regularly check the cellular module’s status to confirm it remains online and functional, providing a vital secondary communication path.
Alarm Reporting Protocols
The Vista-21IP supports multiple alarm reporting protocols to ensure compatibility with various monitoring centers. Common protocols include SIA (Security Industry Association) DC-09, and Contact ID. Configuration involves selecting the appropriate protocol within the programming menu and entering the account number and password provided by your central station.
Proper protocol selection is vital for accurate alarm transmission and verification. Ensure the chosen protocol matches the requirements of your monitoring service. Regularly test alarm reporting to confirm successful communication and data transmission, guaranteeing a swift response in emergency situations.
System Testing & Verification

Thorough system testing is crucial after installation and programming to guarantee reliable operation. Walk-test each zone individually, triggering the alarm and verifying proper communication with the monitoring center. Confirm entry/exit delays function as programmed and that all sensors respond accurately.

Additionally, test the system’s communication pathways – IP and cellular (if applicable) – to ensure connectivity. Review event logs for any errors or anomalies. Document all testing results and address any discrepancies immediately. Regular verification, at least annually, maintains system integrity and responsiveness, providing peace of mind.
Troubleshooting Common Issues
Addressing issues promptly ensures continued system reliability. Communication failures often stem from network connectivity problems; verify IP settings and cellular signal strength. Zone faults can indicate wiring issues, sensor malfunctions, or incorrect programming – systematically check each component.
Review the event log for specific error codes providing clues to the problem’s source. Battery issues can cause intermittent problems; test and replace if necessary. If issues persist, consult the advanced troubleshooting section or contact technical support for assistance. Document all troubleshooting steps taken for future reference.
12.1 Communication Failures
Communication failures disrupt alarm reporting and remote access. First, verify network connectivity – check the panel’s IP address, gateway, and DNS settings. Confirm the internet connection is active and stable. Inspect cabling for damage or loose connections. If using cellular communication, ensure adequate signal strength and a valid SIM card.
Test communication by initiating a panel test or attempting a remote login; Review the event log for specific error messages. If the issue persists, power cycle the panel and network equipment. Contact your internet service provider or cellular carrier if necessary. Proper configuration is key.
12.2 Zone Faults
Zone faults indicate issues with sensors or wiring. Common causes include open or short circuits, low battery levels in wireless sensors, or tampering. Check the zone status in the programming mode to identify the affected zone(s). Inspect wiring at the sensor and panel for damage or loose connections. Replace faulty sensors or batteries promptly.
Verify sensor placement and ensure it’s within range of the control panel. Review zone definitions to confirm correct programming. A “trouble” signal often indicates a wiring issue. If the problem continues, consult a qualified technician for assistance. Accurate zone configuration is vital for system reliability.
Battery Backup & Maintenance
Battery backup ensures continued operation during power outages. The Vista-21IP utilizes sealed lead-acid or lithium-ion batteries. Regular testing (every 6 months) is crucial to verify battery health and capacity. Replace batteries every 3-5 years, or sooner if testing reveals diminished performance. Low-battery warnings indicate impending failure; immediate replacement is recommended.
Proper maintenance extends battery life. Avoid extreme temperatures and ensure adequate ventilation around the battery. Inspect battery connections for corrosion and clean as needed. Document battery replacement dates for tracking purposes. A functioning battery backup is essential for reliable security.
Firmware Updates
Firmware updates are critical for maintaining optimal system performance, security, and compatibility. Regularly check the manufacturer’s website for available updates. Updates often include bug fixes, new features, and enhanced security protocols. Download the latest firmware version and follow the provided instructions carefully during the update process.
Interruptions during a firmware update can cause system malfunction; ensure a stable power supply and network connection. The Vista-21IP typically supports updates via IP connection. Always back up your system configuration before initiating an update. Successful updates improve system reliability and protect against emerging threats.
Remote Access & Control
Remote access allows authorized users to monitor and control the Vista-21IP system from virtually anywhere with an internet connection. This functionality is typically enabled through a secure web browser interface or a dedicated mobile application. User credentials are essential for secure access, and strong passwords are highly recommended.
Features often include arming/disarming the system, viewing zone status, accessing event logs, and receiving real-time notifications. Ensure your network is secure to prevent unauthorized access; Regularly review user permissions and access logs. Remote control provides convenience and peace of mind, enhancing overall system usability.
Integration with Smart Home Systems
The Vista-21IP offers seamless integration capabilities with various popular smart home platforms, enhancing automation and convenience. Compatibility includes systems like Amazon Alexa, Google Assistant, and others utilizing Z-Wave or other supported protocols. This allows voice control of security functions, such as arming or disarming the system.
Integration enables the creation of custom scenes and routines, linking security events with other smart home devices – for example, turning on lights upon alarm activation. Ensure compatibility and follow the platform’s specific integration instructions. This expands the system’s functionality, creating a truly connected and intelligent home security solution.
Advanced Programming Options
The Vista-21IP provides experienced users with extensive advanced programming features for tailored security solutions. Macros allow automating complex sequences of actions triggered by specific events. Cross-zoning enhances accuracy by requiring multiple zones to be breached before an alarm triggers, reducing false alarms.
Holiday arming schedules simplify security during vacations, while dual partition programming enables independent control of separate zones. Event filtering allows prioritizing specific alarm types for reporting. These options require a thorough understanding of the system’s architecture and careful configuration to ensure optimal performance and reliability.
Event Log Review & Analysis
The Vista-21IP system meticulously records all security events in a detailed event log. Regularly reviewing this log is crucial for system health and identifying potential issues. Entries include alarm triggers, arming/disarming actions, communication events, and system faults, all time-stamped for accurate tracking.
Analyzing these logs helps pinpoint recurring problems, such as frequent false alarms from specific zones or communication failures. Filtering options allow focusing on specific event types. Understanding the log’s structure and interpreting the data empowers users to proactively maintain system integrity and optimize security protocols, ensuring a robust and reliable security solution.
Resetting the System to Factory Defaults
Caution: Resetting to factory defaults erases all programming, user codes, and system configurations. This should only be performed as a last resort, when troubleshooting severe issues or preparing the panel for a new installation. Before proceeding, document all current settings for re-entry.
The process typically involves accessing a specific programming menu via the keypad, often requiring a master access code. Confirm the reset action carefully, as it is irreversible without manual reprogramming. Following a successful reset, the system will revert to its original, out-of-the-box state, requiring complete re-configuration.
Warranty Information & Support
This Vista-21IP system is covered by a limited warranty against defects in materials and workmanship for a period of one year from the date of purchase. The warranty does not cover damage resulting from misuse, abuse, or unauthorized modifications. To initiate a warranty claim, contact our authorized dealer or customer support with proof of purchase.
For technical support, please visit our website at [insert website address here] or call our toll-free number at [insert phone number here]. Our support team is available Monday through Friday, 9 AM to 5 PM EST. We also offer online resources, including FAQs and troubleshooting guides.
Regulatory Compliance & Safety Information
The Vista-21IP system complies with all applicable FCC regulations and industry standards. This device has been tested and found to meet the limits for a Class B digital device, ensuring minimal interference with other electronic equipment. Operation is subject to the following two conditions: first, the device must not cause harmful interference, and second, it must accept any interference received.
For safety, always disconnect power before servicing. Do not attempt to repair the system yourself; contact a qualified technician. Ensure proper grounding and avoid exposure to extreme temperatures or moisture. Read and understand all instructions before installation and operation.