What is Meal Prep? A Comprehensive Guide (Updated 03/16/2026)
Meal prepping involves proactively preparing meals or ingredients‚ streamlining your week with readily available‚ nutritious options—a detailed plan for focused‚ energized living.
This guide offers a structured approach‚ featuring recipes‚ shopping lists‚ and preparation tips‚ ensuring fresh‚ balanced meals are always within reach‚ saving valuable time.
Utilizing a meal prep planner organizes your weekly meals efficiently‚ allowing you to plan dishes in advance and optimize preparation for a healthier lifestyle.
Defining Meal Prep: Beyond Basic Cooking
Meal preparation transcends simply cooking; it’s a proactive lifestyle strategy centered around intentionally planning and preparing meals in advance. It’s about more than just having food ready – it’s about taking control of your nutrition and schedule. This involves determining your meals for the week‚ creating a corresponding shopping list‚ and dedicating time to cook and portion those meals.
Unlike spontaneous cooking‚ meal prep focuses on efficiency and foresight. It’s about batch cooking‚ where you prepare large quantities of ingredients or entire dishes to be used throughout the week. This isn’t limited to full meals; it can also include prepping components like chopped vegetables‚ cooked grains‚ or marinated proteins. The goal is to minimize daily cooking time and ensure healthy‚ convenient options are always available.
A well-executed meal prep system empowers you to bypass impulsive food choices and consistently nourish your body with wholesome ingredients. It’s a commitment to prioritizing your well-being amidst a busy life‚ offering a pathway to a more balanced and stress-free relationship with food.
The Core Principles of Effective Meal Preparation
Effective meal prep hinges on several key principles. Planning is paramount – utilizing templates or simply outlining your meals for the week provides structure. Next‚ meticulous organization‚ specifically a detailed shopping list aligned with your meal plan‚ prevents wasted trips and impulse buys. Dedicated time management‚ setting aside a “prep day‚” is crucial for efficient cooking and portioning.
Versatility is also key; choose recipes that allow for ingredient overlap to minimize waste and simplify the process. Prioritize storage solutions – airtight containers are essential for maintaining freshness and preventing spoilage. Finally‚ embrace flexibility; don’t be afraid to adjust your plan based on your needs and preferences.
These principles aren’t rigid rules‚ but rather guidelines to help you create a sustainable meal prep routine. By focusing on planning‚ organization‚ and efficient execution‚ you can unlock the full benefits of this powerful lifestyle tool‚ leading to healthier eating and reduced stress.
Benefits of Meal Prepping
Meal prepping delivers significant advantages: time savings‚ healthier eating through ingredient control‚ reduced food waste and costs‚ and diminished daily mealtime stress.
It’s a proactive strategy for a focused‚ energized lifestyle‚ providing convenient‚ nutritious options throughout your busy week‚ simplifying healthy choices.
Time Savings: Reclaiming Your Week
Meal prepping fundamentally alters your relationship with time‚ liberating hours previously consumed by daily cooking and frantic last-minute decisions. Instead of spending precious weeknight moments chopping vegetables‚ monitoring simmering pots‚ or debating dinner options‚ you dedicate a focused block of time – often on a weekend – to prepare multiple meals simultaneously.
This concentrated effort yields substantial returns. Imagine transitioning from an hour of cooking every evening to a single‚ efficient session. This reclaimed time can be reinvested in pursuits you genuinely enjoy: hobbies‚ family‚ exercise‚ or simply relaxing. The convenience of grab-and-go meals eliminates the “what’s for dinner?” dilemma‚ reducing mental fatigue and streamlining your routine.

Furthermore‚ fewer trips to the grocery store are required‚ as your shopping is strategically planned around your prepped meals. This minimizes impulse buys and further optimizes your time. Meal prepping isn’t just about food; it’s about regaining control of your schedule and prioritizing what truly matters.
Healthier Eating: Control Over Ingredients
Meal prepping empowers you to take complete command of your diet‚ fostering healthier eating habits by eliminating the ambiguity of restaurant meals or quick‚ processed options. When you prepare your own food‚ you dictate precisely what goes into it – prioritizing whole‚ nutritious ingredients and avoiding hidden sugars‚ excessive sodium‚ and unhealthy fats.
This level of control is particularly beneficial for individuals with dietary restrictions or specific health goals. You can easily customize meals to accommodate allergies‚ intolerances‚ or preferences‚ ensuring every bite aligns with your needs. The proactive planning inherent in meal prepping encourages more nutritious meal choices overall‚ as you’re less likely to succumb to impulsive‚ unhealthy cravings.
By focusing on fresh‚ whole foods‚ you’re providing your body with the essential nutrients it needs to thrive. This mindful approach to eating contributes to increased energy levels‚ improved digestion‚ and a stronger overall sense of well-being.
Cost Efficiency: Reducing Food Waste & Impulse Buys
Meal prepping significantly impacts your wallet by minimizing both food waste and impulsive grocery purchases. Careful planning‚ including a detailed shopping list based on pre-determined meals‚ ensures you only buy what you need‚ eliminating the common scenario of produce spoiling in the refrigerator.
The structured nature of meal prepping discourages last-minute takeout orders or convenience store runs‚ which are often significantly more expensive than home-cooked meals. By having readily available‚ healthy options‚ you’re less tempted to spend money on less nutritious‚ pricier alternatives.
Furthermore‚ buying ingredients in bulk‚ a common practice with meal prepping‚ often results in cost savings. Investing a few hours each week in preparation translates to substantial financial benefits over time‚ allowing you to allocate resources to other priorities.
Stress Reduction: Eliminating Daily Dinner Dilemmas
Meal prepping dramatically reduces daily stress by removing the perpetual “what’s for dinner?” question. Instead of facing a frantic scramble after a long day‚ you have pre-planned‚ prepared meals readily available‚ offering a sense of calm and control.
This proactive approach eliminates the mental load of daily meal planning‚ grocery shopping for last-minute ingredients‚ and the pressure of cooking when time and energy are limited. A comprehensive meal prep plan provides a clear roadmap for your week’s nutrition.
Knowing your meals are taken care of frees up valuable mental space‚ allowing you to focus on other aspects of your life. The convenience of grab-and-go options fosters a more relaxed and enjoyable evening routine‚ contributing to overall well-being and a less chaotic lifestyle.

Getting Started with Meal Prep: A Step-by-Step Approach
Begin with planning‚ list creation‚ dedicated prep time‚ efficient cooking & portioning‚ and proper storage—a streamlined process for weekly meal success!
Step 1: Planning Your Meals – Utilizing Templates
Embarking on your meal prep journey begins with meticulous planning. This initial step is crucial for success‚ preventing last-minute stress and ensuring a week of healthy‚ convenient meals. Start by dedicating time to outline your breakfasts‚ lunches‚ dinners‚ and even snacks for the upcoming days.
Leverage the power of meal planning templates! These readily available resources‚ often found within comprehensive meal prep guides or downloadable online‚ provide a structured framework. They help you visualize your meals‚ allocate ingredients‚ and avoid repetition. Consider your schedule‚ dietary needs‚ and preferences when filling out the template.
Think about mixing and matching prepped components. For example‚ roasted vegetables can be incorporated into various dishes throughout the week. This flexibility reduces monotony and maximizes the utility of your prep work. Don’t hesitate to explore recipe books included with guides for inspiration and new ideas!
A well-planned menu is the foundation of effective meal prepping. It sets the stage for efficient shopping and a smooth‚ stress-free prep day.
Step 2: Creating a Shopping List – Organization is Key
Once your meal plan is finalized‚ crafting a detailed shopping list is paramount. This isn’t simply jotting down ingredients; it’s a strategic exercise in efficiency. Review each recipe and meticulously list every required item‚ checking your pantry first to avoid unnecessary purchases.
Categorize your list by grocery store sections – produce‚ dairy‚ meats‚ pantry staples – to streamline your shopping trip. This prevents backtracking and saves valuable time. Many meal prep PDFs include pre-formatted shopping lists aligned with their recipes‚ offering a convenient starting point.
Be specific with quantities. Instead of “tomatoes‚” write “2 Roma tomatoes.” Accuracy minimizes errors and ensures you have enough of each ingredient. Consider using a digital shopping list app for easy editing and sharing.
A well-organized shopping list is your weapon against impulse buys and wasted food. It keeps you focused and ensures you acquire everything needed for a successful meal prep session.
Step 3: The Prep Day – Setting Aside Dedicated Time
The “prep day” is the cornerstone of successful meal prepping. Designate a specific block of time – typically a weekend day – solely for this purpose. Treat it like an important appointment; protect this time from interruptions. The duration will vary based on your menu’s complexity‚ but 2-4 hours is a common range.
Before you begin‚ clear your workspace. A clean‚ organized kitchen is essential for efficiency. Gather all necessary equipment: cutting boards‚ knives‚ pots‚ pans‚ storage containers‚ and your printed recipes or meal prep PDF.
Prioritize tasks. Start with items requiring longer cooking times‚ like grains or roasted vegetables. Simultaneously prep ingredients – chopping vegetables‚ marinating proteins – while things simmer.
Music or a podcast can make the process more enjoyable! Remember‚ this isn’t about perfection; it’s about creating a foundation for a stress-free week of healthy eating.
Step 4: Cooking & Portioning – Efficiency in Action
Now‚ bring your meal plan to life! Follow your recipes‚ utilizing batch cooking techniques to maximize output. Cook grains‚ proteins‚ and vegetables simultaneously whenever possible. Refer to your meal prep PDF for precise cooking times and temperatures.
Once cooked‚ immediately portion your meals into individual containers. This is crucial for grab-and-go convenience. Consider your portion sizes based on your dietary needs and goals. Consistent portioning aids in calorie control and mindful eating.
Cool the food completely before sealing containers. This prevents condensation‚ which can lead to spoilage. Label each container with the meal name and date prepared.
Think about variety! Even with a structured plan‚ slight variations in seasoning or side dishes can prevent meal fatigue. Enjoy the satisfaction of a week of effortless‚ healthy meals!

Step 5: Storage Solutions – Keeping Food Fresh
Proper storage is paramount to extending the life of your prepped meals. Your meal prep PDF should guide you on optimal storage times for different ingredients. Utilize airtight containers – glass or BPA-free plastic are excellent choices.
Refrigerate meals promptly after cooling. Generally‚ most prepped meals will stay fresh for 3-4 days in the refrigerator. For longer storage‚ consider freezing portions. Labeling with dates is essential for tracking freshness.
Separate components if necessary. For example‚ store salad dressings separately to prevent wilting. Crunchy toppings like nuts or seeds should also be added just before eating to maintain texture.
Understand freezer guidelines. Properly frozen meals can last for several months. Thaw safely in the refrigerator overnight before reheating. Prioritize using the oldest prepped meals first to minimize waste.

Meal Prep Recipes & Ideas
Explore diverse recipes within your meal prep PDF‚ from quick breakfasts to flavorful lunches and balanced dinners‚ fueling a happy‚ healthy transformation!
Discover portable‚ easy-to-make options designed for convenience‚ ensuring nutritious meals are always readily available‚ supporting your focused and energized lifestyle.

Breakfast Meal Prep Options – Quick & Nutritious
Kickstart your day with effortless breakfasts from your meal prep PDF! These options prioritize speed and nutrition‚ setting a positive tone for a productive week.
Consider overnight oats – a simple blend of oats‚ milk (dairy or non-dairy)‚ chia seeds‚ and your favorite toppings‚ prepared the night before for a grab-and-go morning.
Egg muffins are another fantastic choice; whisk eggs with vegetables‚ cheese‚ and protein‚ then bake in muffin tins for a portable‚ protein-packed breakfast.
Breakfast burritos‚ pre-made and frozen‚ offer a hearty and satisfying option‚ easily reheated for a quick and convenient meal. Utilize whole-wheat tortillas and lean proteins.
Smoothie packs‚ pre-portioned with fruits‚ vegetables‚ and protein powder‚ simplify smoothie creation – just blend with liquid and enjoy! Your meal prep PDF will guide you.
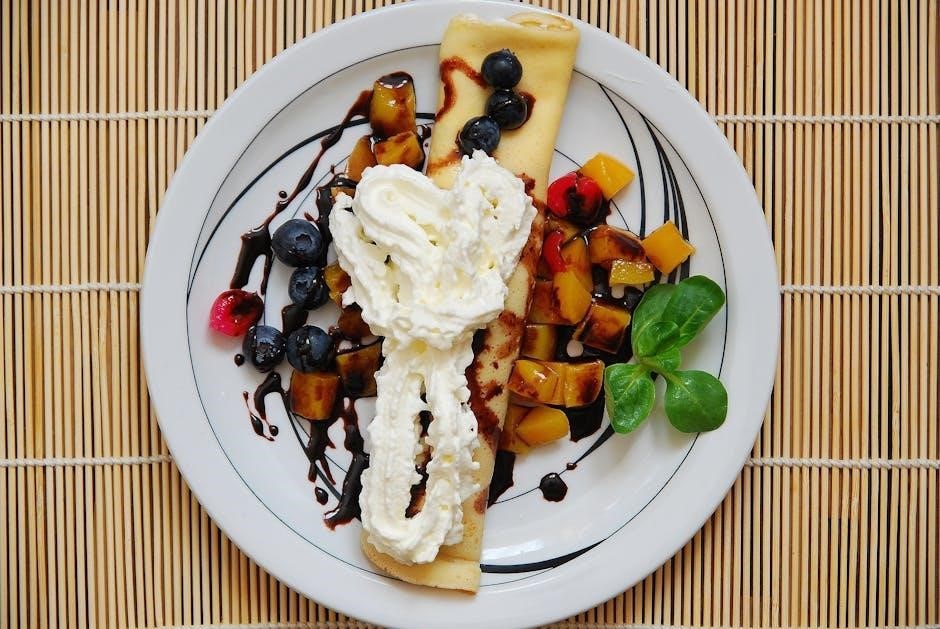
Yogurt parfaits‚ layered with granola and berries‚ provide a balanced combination of protein‚ carbohydrates‚ and healthy fats‚ offering sustained energy throughout the morning.
Lunch Meal Prep Ideas – Portable & Flavorful
Elevate your midday meal with convenient and delicious lunches‚ easily prepared using your meal prep PDF! Portability is key‚ ensuring you have a healthy option wherever your day takes you.
Mason jar salads are a visually appealing and practical choice; layer dressing at the bottom‚ followed by hearty vegetables‚ grains‚ and greens to prevent sogginess.
Quinoa bowls‚ packed with protein‚ vegetables‚ and a flavorful sauce‚ offer a complete and satisfying meal. Customize with your favorite ingredients for variety.
Wrap sandwiches‚ utilizing whole-wheat tortillas and lean proteins like turkey or chicken‚ provide a quick and easy lunch option. Add plenty of vegetables for added nutrients.
Bento box style lunches‚ with compartments for different food groups‚ encourage balanced eating and portion control. Include fruits‚ vegetables‚ protein‚ and a healthy carbohydrate.
Leftovers from dinner are always a great option! Repurpose your evening meal into a convenient and flavorful lunch‚ minimizing food waste and maximizing efficiency – your meal prep PDF helps!
Dinner Meal Prep Recipes – Balanced & Satisfying
Transform weeknight dinners from stressful to seamless with prepped meals! Your meal prep PDF is your guide to balanced‚ satisfying recipes that fit your lifestyle.
Sheet pan dinners are a lifesaver – toss vegetables and protein (chicken‚ salmon‚ or tofu) with herbs and spices‚ then roast for an easy cleanup and flavorful meal.
Casseroles‚ assembled ahead of time and baked when ready‚ offer comfort food without the last-minute rush. Layer ingredients and freeze for long-term convenience.
Stir-fries‚ utilizing pre-chopped vegetables and marinated protein‚ cook quickly and are incredibly versatile. Serve with brown rice or quinoa for a complete meal.
Slow cooker meals‚ prepared in the morning‚ provide a warm and comforting dinner with minimal effort. Utilize your meal prep PDF for recipe inspiration.
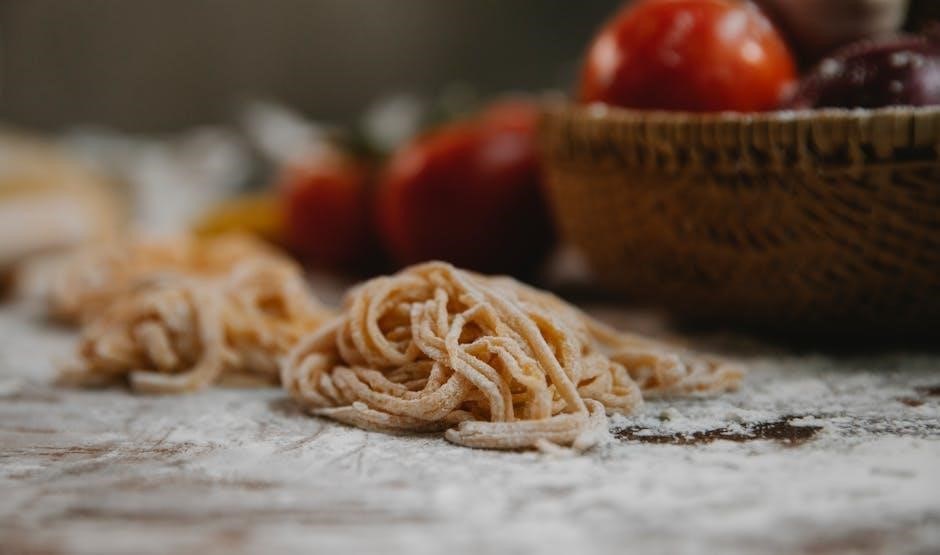
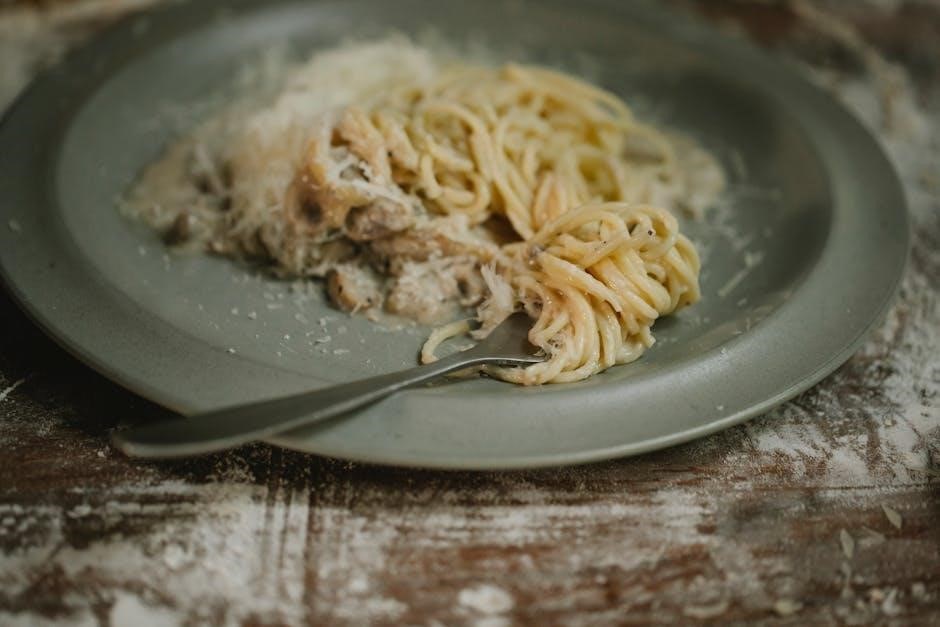
Pre-portioned pasta dishes with lean protein and vegetables are a classic choice. Store in individual containers for grab-and-go convenience throughout the week‚ ensuring a healthy dinner!
Snack Prep – Healthy Choices on Hand
Avoid unhealthy impulse grabs by proactively prepping snacks! Your meal prep PDF will be invaluable in creating a repertoire of nutritious and satisfying options.
Pre-portion nuts and seeds into small bags or containers for a quick and healthy energy boost. Almonds‚ walnuts‚ and pumpkin seeds are excellent choices.
Cut up fruits and vegetables – carrots‚ celery‚ bell peppers‚ and apples – and pair them with hummus or a yogurt-based dip for a refreshing snack.
Hard-boiled eggs are a protein-packed snack that’s easy to prepare in advance. They’re perfect for a quick and satisfying bite between meals.
Prepare energy bites using oats‚ nut butter‚ seeds‚ and dried fruit for a naturally sweet and filling snack. Find recipes in your meal prep PDF.
Yogurt parfaits with granola and berries offer a balanced combination of protein‚ carbohydrates‚ and healthy fats. Assemble in jars for easy portability and a delightful snack!

Advanced Meal Prep Techniques
Elevate your meal prep with batch cooking‚ freezer meals‚ and theme days—strategies detailed in your meal prep PDF—for ultimate efficiency and variety.
Mastering these techniques unlocks long-term convenience and minimizes kitchen time‚ ensuring consistently healthy and delicious meals throughout the week.
Batch Cooking – Maximizing Your Efforts
Batch cooking‚ a cornerstone of advanced meal prepping detailed in your meal prep PDF‚ involves preparing large quantities of core ingredients or entire dishes at once. This dramatically reduces overall cooking time throughout the week‚ freeing up valuable hours. Think of roasting a whole chicken instead of individual portions‚ or cooking a large pot of grains like quinoa or rice.
The key is to select recipes that utilize similar ingredients‚ minimizing waste and maximizing efficiency. For example‚ if you’re prepping chicken‚ consider using some for salads‚ some for stir-fries‚ and some for wraps. Your meal prep PDF will offer recipe suggestions designed for batch cooking compatibility.
Proper storage is crucial for maintaining freshness. Divide cooked food into individual portions and store them in airtight containers in the refrigerator or freezer. This technique isn’t just about saving time; it’s about consistently having healthy options readily available‚ eliminating the temptation to opt for less nutritious convenience foods.
Freezer Meal Prep – Long-Term Convenience
Freezer meal prep‚ a powerful technique detailed within your meal prep PDF‚ extends the benefits of meal prepping far beyond the week. It allows you to create entire meals in advance and store them frozen for weeks or even months‚ providing ultimate convenience and reducing food waste. This is ideal for busy schedules or unexpected events.
When preparing freezer meals‚ focus on recipes that freeze and reheat well – soups‚ stews‚ casseroles‚ and pre-portioned protein sources are excellent choices. Your meal prep PDF will include recipes specifically designed for freezing. Use freezer-safe containers or bags‚ and remember to label everything with the date and contents.
Proper thawing is essential for food safety. The best method is to thaw meals overnight in the refrigerator. This technique ensures a consistent supply of healthy‚ home-cooked meals‚ even when time is limited‚ offering long-term peace of mind and nutritional control.
Theme Days – Simplifying the Planning Process
Theme days‚ a clever strategy outlined in your meal prep PDF‚ dramatically simplify meal planning and reduce decision fatigue. Assigning a specific cuisine or food type to each day of the week creates structure and streamlines your grocery shopping and cooking process. For example‚ “Meatless Monday‚” “Taco Tuesday‚” or “Pasta Wednesday” provide clear direction.
This approach minimizes the mental load of constantly deciding what to eat. Your meal prep PDF will offer example theme day schedules and recipe suggestions tailored to each theme. It encourages variety while maintaining a manageable level of planning. Batch cooking ingredients common to multiple themes further enhances efficiency.
By embracing theme days‚ you transform meal prepping from a daunting task into a fun and organized routine‚ ensuring consistent‚ healthy eating habits without overwhelming complexity. It’s a sustainable method for long-term success.
Troubleshooting Common Meal Prep Challenges
Your meal prep PDF addresses potential issues like food spoilage with proper storage guidance‚ preventing burnout through variety‚ and adapting recipes to individual dietary needs.
Dealing with Food Spoilage – Proper Storage
Your meal prep PDF emphasizes that proper food storage is crucial for safety and maximizing freshness. Utilize airtight containers – glass or BPA-free plastic are ideal – to minimize air exposure‚ a primary cause of spoilage.
Cool cooked foods rapidly before refrigerating; don’t leave them at room temperature for extended periods. Divide large batches into smaller‚ individual portions for quicker cooling and to avoid repeatedly warming and cooling the same food.
Understand refrigerator temperature zones: colder areas are best for meats and dairy‚ while crisper drawers maintain humidity for produce. Label containers with the date of preparation to track freshness.
For longer-term storage‚ freezing is an excellent option; Ensure food is properly wrapped to prevent freezer burn. The meal prep PDF will provide guidance on appropriate freezing times for various foods‚ ensuring both quality and safety are maintained throughout your meal prepping journey.
Preventing Meal Prep Burnout – Variety & Flexibility
Your meal prep PDF acknowledges that consistency is key‚ but monotony can lead to burnout. Incorporate variety into your meal plans – rotate proteins‚ vegetables‚ and cuisines to keep things interesting and prevent palate fatigue.
Don’t be afraid to experiment with flavors and seasonings. Utilize theme nights (e.g.‚ Mexican Monday‚ Italian Tuesday) to simplify planning while still offering diverse meals. Remember‚ meal prepping shouldn’t feel restrictive.
Flexibility is equally important. Life happens! Build some wiggle room into your schedule and allow for occasional deviations from your plan. The meal prep PDF suggests having a few quick‚ easy backup meals on hand for those unexpected days.
Finally‚ listen to your body and adjust your prep schedule as needed. If a large prep day feels overwhelming‚ break it down into smaller tasks spread throughout the week.
Adapting to Dietary Restrictions – Customization Options
Your meal prep PDF recognizes that dietary needs vary greatly. Successfully adapting meal prep requires understanding your restrictions – whether it’s gluten-free‚ dairy-free‚ vegetarian‚ vegan‚ or specific allergies – and making informed substitutions.
Many recipes can be easily modified. Swap ingredients to align with your needs; for example‚ use almond flour instead of wheat flour‚ or plant-based milk instead of dairy. The meal prep PDF emphasizes reading labels carefully to ensure ingredient compliance.
Focus on building meals around naturally compliant foods. Prioritize whole‚ unprocessed ingredients that fit your dietary profile. Don’t hesitate to create entirely new recipes tailored to your specific requirements.
Nutrition isn’t “one size fits all‚” so personalize your approach. Utilize online resources and communities for inspiration and support in adapting recipes and finding suitable alternatives.