Hand gestures are a powerful form of non-verbal communication, reflecting thoughts, emotions, and intentions. They play a crucial role in human expression, transcending cultural and linguistic barriers. Understanding hand gestures enhances communication, offering insights into psychological states and cultural practices. From mudras in spirituality to everyday movements, hand gestures hold deep significance, making them a vital area of study for self-expression and connection.
1.1. The Power of Non-Verbal Communication
Non-verbal communication is a fundamental aspect of human interaction, with hand gestures playing a central role. They convey emotions, intentions, and thoughts without words, often revealing subconscious feelings. The power of these cues lies in their universality, transcending language barriers and cultural differences. By studying hand gestures, one can gain insights into others’ psychological states, enhancing empathy and understanding. This silent yet profound form of expression underscores the importance of being attuned to non-verbal signals in daily interactions.
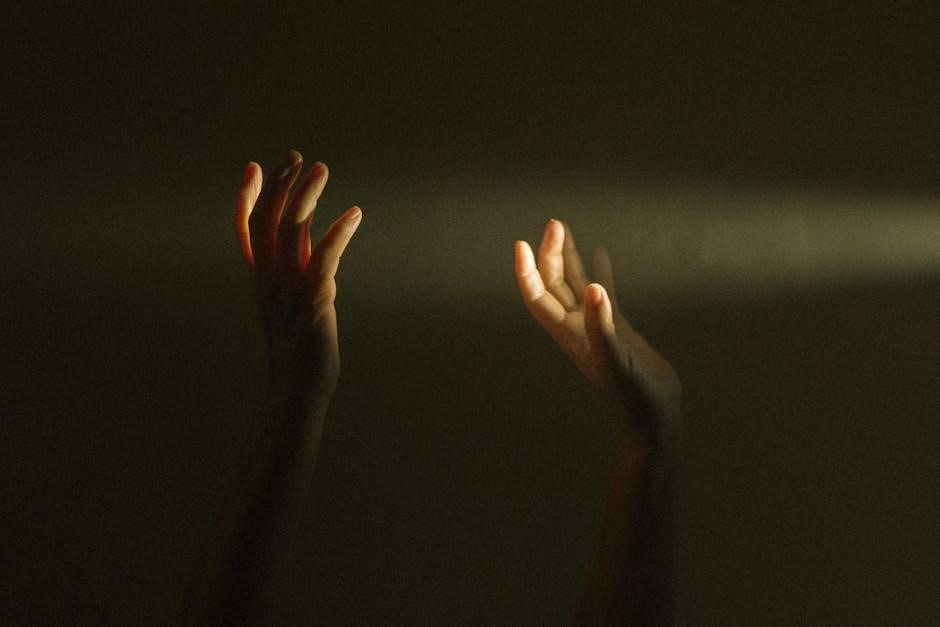
1.2. The Role of Hands in Human Expression
Hands are versatile tools of expression, conveying emotions, ideas, and intentions with precision. Through gestures, they bridge language gaps, expressing what words alone cannot. Culturally, hands symbolize respect, spirituality, and artistry, as seen in practices like mudras. Their ability to convey subtle feelings makes them integral to communication, offering a universal language that transcends verbal barriers. The study of hand gestures reveals their profound impact on human connection and understanding, highlighting their significance in both daily life and deeper spiritual practices.
1.3. Importance of Understanding Hand Gestures
Understanding hand gestures is crucial for effective communication, as they often convey emotions and intentions more subtly than words. Hands serve as a universal language, bridging cultural and linguistic gaps. Misinterpreting gestures can lead to misunderstandings, emphasizing the need for awareness. Recognizing their significance enhances empathy, trust, and connection in personal and professional interactions. Additionally, the study of hand gestures contributes to fields like psychology, spirituality, and technology, making it a valuable skill in today’s diverse and interconnected world.
Cultural Significance of Hand Gestures

Hand gestures carry profound cultural meanings, varying across Asia, the West, and Africa. A single gesture can signify respect in one culture and offense in another, highlighting the importance of cultural awareness.
2.1. Hand Gestures in Asian Cultures
In Asian cultures, hand gestures are deeply symbolic, reflecting spiritual and social values. Mudras, sacred hand poses in yoga and meditation, embody energy flow and spiritual alignment. Each finger represents elements like air, fire, and water, influencing practices. In daily life, gestures like joining palms in “Namaste” signify respect and unity. Variations exist across countries, such as Japan’s precise tea ceremony gestures or Thailand’s respectful hand placements. Understanding these gestures offers insights into cultural identity and etiquette, bridging communication gaps and fostering mutual respect.
2.2. Hand Gestures in Western Cultures
Hand gestures in Western cultures often convey emotions and intentions, varying by region and context. A thumbs-up signals approval in the U.S., while in France, it may denote agreement. Open palms can express honesty, as seen in political speeches. However, gestures like pointing or crossing arms can have negative connotations. Western cultures also use gestures to emphasize speech, with expansive movements common in Mediterranean countries. These non-verbal cues highlight individuality and cultural nuances, playing a significant role in interpersonal communication and social interactions.
2.3. Hand Gestures in African Cultures
Hand gestures in African cultures are rich in symbolism, often reflecting community values and storytelling traditions. A raised thumb signals approval, while a clenched fist may denote solidarity or strength. In some regions, gestures accompany verbal greetings, emphasizing respect and spirituality. The diversity of African cultures means gestures vary widely, with mudras and hand positions holding specific meanings in rituals and dance. Understanding these gestures deepens connections, highlighting their role in expressing emotions and preserving cultural heritage across the continent’s vibrant societies.

Psychological Insights into Hand Gestures
Hand gestures reveal thoughts, intentions, and emotional states, offering a window into the subconscious. They are a powerful tool in understanding human behavior and communication dynamics.
3.1. Revealing Thoughts and Intentions

Hand gestures serve as a window into thoughts and intentions, often revealing subconscious emotions. They convey feelings like confidence, nervousness, or deception, providing insights into a person’s psychological state. Experts in synergology emphasize that body language, including hand movements, does not lie, making it a reliable tool for understanding human behavior. These gestures can signal honesty, aggression, or enthusiasm, offering a deeper understanding of communication beyond words. They are a vital aspect of non-verbal expression, bridging the gap between spoken language and unspoken emotions.

3.2. The Science of Body Language
The science of body language, including hand gestures, reveals the hidden dynamics of human communication. Known as synergology, it studies how non-verbal cues convey emotions and intentions. Hand movements, such as open palms signaling honesty or clenched fists indicating tension, provide insights into psychological states. This field examines how gestures align with verbal messages, highlighting inconsistencies or emphasizing truths. By decoding these signals, individuals can better understand others and enhance their own expressive abilities, making body language a vital tool for effective communication and interpersonal understanding.
3.3. Lie Detection Through Hand Movements
Hand movements can reveal deception, as they often betray emotional states. People lying may exhibit exaggerated or rigid gestures, such as avoiding eye contact or fidgeting. Open palms can signify honesty, while closed fists may indicate defensiveness. Micro-gestures, like subtle hand tremors or palm sweating, can expose stress or anxiety, common when deceiving. These non-verbal cues, studied in synergology, help identify inconsistencies between words and true emotions, making hand movements a valuable tool in detecting lies and understanding hidden truths.

Spiritual and Mystical Meanings of Hand Gestures
Hand gestures hold profound spiritual significance, with practices like mudras channeling energy and aligning chakras. They are integral to meditation, yoga, and sacred rituals, symbolizing divine connection and inner harmony.
4.1. Mudras in Yoga and Meditation
Mudras are sacred hand gestures that channel energy and align chakras, enhancing spiritual and physical well-being. Used in yoga and meditation, they promote balance, focus, and inner harmony. Each mudra has specific benefits, such as improving health or fostering mental clarity. By sealing energy flows, mudras aid in connecting the body, mind, and spirit. Their practice is deeply rooted in ancient traditions, offering a powerful tool for holistic wellness. Guides and PDF resources provide detailed insights into their significance and proper techniques.
4.2. Sacred Hand Gestures in Religious Practices
Sacred hand gestures hold profound significance in various religious traditions, serving as symbols of faith, devotion, and spiritual connection. In Hinduism, gestures like the Lotus Mudra embody purity and spiritual growth. Buddhism uses mudras to depict enlightenment and compassion. In Christianity, the Sign of the Cross is a revered gesture of faith. These gestures often accompany rituals, prayers, and meditative practices, bridging the divine and human realms. Their meanings vary across cultures, yet they universally convey reverence and inner transformation, enriching spiritual journeys and fostering deeper connection to the divine.
4.3. Energy Flow and Chakra Alignment
Hand gestures, particularly mudras, play a vital role in regulating energy flow and aligning chakras in the body. These sacred postures channel and balance life-force energy, enhancing spiritual and physical well-being. Specific mudras, such as Gyan Mudra (thumb and index finger connection), target particular chakras, like the root or solar plexus, to harmonize energy. This practice, rooted in ancient wisdom, is believed to awaken consciousness and promote healing. By aligning chakras, hand gestures foster a balanced flow of bioenergy, nurturing both mind and body.
Practical Applications of Hand Gesture Knowledge
Understanding hand gestures enhances communication, public speaking, and emotional expression. They also aid in gesture recognition technology, improving human-computer interaction and non-verbal expression accuracy in various fields;
5.1. Enhancing Communication Skills
Hand gestures significantly enhance communication by conveying emotions and thoughts non-verbally. They add depth to verbal messages, making interactions more engaging and expressive. In personal and professional settings, deliberate gestures can build trust, emphasize key points, and ensure clarity. Cultural awareness of gesture meanings prevents misunderstandings. By aligning gestures with speech, individuals can communicate more effectively, fostering connection and understanding. This skill is invaluable in diverse interactions, from public speaking to daily conversations, ensuring messages are both clear and impactful.
5.2. Using Hand Gestures in Public Speaking
Hand gestures are a powerful tool in public speaking, enhancing engagement and conveying confidence. They help emphasize key points, illustrate ideas, and maintain audience attention. Open palm gestures signify honesty, while expansive movements can convey passion. Timely gestures align with verbal messages, creating a harmonious flow. However, gestures should be natural, avoiding exaggeration or distraction. By integrating meaningful hand movements, speakers can connect deeply with their audience, ensuring their message is both impactful and memorable. This skill elevates public speaking, making it more expressive and effective.
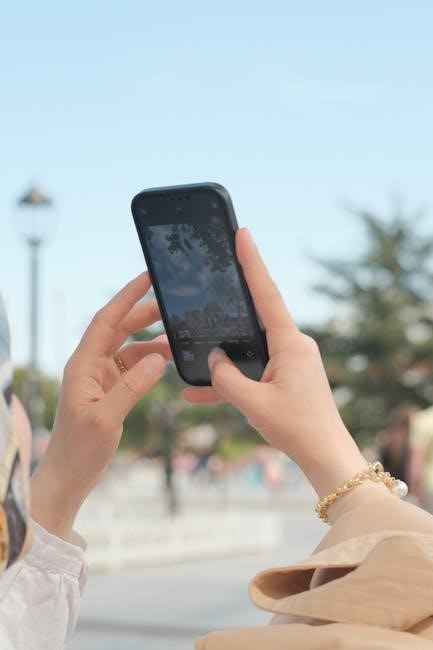
5.3. Gesture Recognition in Technology
Gesture recognition technology is revolutionizing human-computer interaction by interpreting hand movements. Sensors and cameras capture gestures, enabling control of devices through natural movements. This technology enhances gaming, virtual reality, and accessibility for people with disabilities. By aligning with cultural and psychological insights, gesture recognition systems can better interpret intent. However, challenges like cultural differences in gesture meanings must be addressed. As this field evolves, it promises to create more intuitive and inclusive interfaces, bridging the gap between technology and human expression.
Hand Gesture in Art and History
Hand gestures in art and history reflect cultural and historical contexts, symbolizing human experiences through symbolic movements. Their study reveals the evolution of expression and meaning.

6.1. Symbolism in Art Through Hand Gestures

Hand gestures in art carry profound symbolic meaning, reflecting emotions, intentions, and spiritual themes. Artists use specific hand positions to convey narratives, such as prayer, power, or surrender. In religious art, gestures often signify divine connection or humility. Historical chirogrammes, like those in medieval paintings, emphasize sacred rituals. The placement and posture of hands in sculptures and paintings evoke deeper interpretations, making them a universal language. This symbolism bridges cultural divides, allowing viewers to connect with artworks on a primal level, transcending time and context.
6.2. Historical Use of Hand Gestures
Hand gestures have been integral to human communication throughout history, serving as a universal language. In ancient cultures, gestures conveyed rituals, authority, and spiritual practices. Egyptian hieroglyphs and Greek art often depicted symbolic hand positions, while religious figures used specific gestures to denote blessings or prayers. Historical chirogrammes, like those in 17th- and 18th-century art, documented gestures as expressions of power or devotion. These practices highlight how hand movements have historically transcended words, carrying profound cultural and spiritual significance across civilizations.
6.3. Iconic Hand Gestures in Art History
Art history is rich with iconic hand gestures that convey profound meanings. From Michelangelo’s “The Creation of Adam” to depictions of religious figures, hand gestures symbolize divine connection or blessings. The raised hand of the Pope in art signifies authority and grace, while Renaissance paintings often feature expressive gestures to denote emotion or narrative. These iconic poses have become timeless symbols, capturing the essence of human expression and spiritual connection through the power of hand movements in visual art.

Everyday Hand Gestures and Their Meanings
Common hand gestures like waving or pointing convey simple messages, while cultural differences add layers of meaning. Personalizing gestures can enhance self-expression and connection in daily interactions.
7.1. Common Gestures in Daily Life
Everyday hand gestures like waving goodbye, pointing, or giving a thumbs-up are universal and intuitive. These movements convey emotions and intentions effortlessly, enhancing communication. A handshake seals trust, while crossed fingers express hope. Even subtle gestures, like tapping fingers, signal impatience. Cultural differences may alter meanings, but these gestures remain vital in daily interactions, bridging language gaps and adding nuance to human connection. Understanding them fosters clearer communication and deeper interpersonal bonds.
7.2. Misinterpretations Across Cultures
Hand gestures can carry vastly different meanings across cultures, leading to misunderstandings. For instance, the “thumbs-up” gesture, considered positive in Western cultures, is offensive in some Middle Eastern contexts. Similarly, the “OK” sign, common in the West, is viewed as vulgar in Brazil. Cultural differences in interpreting gestures like waving or pointing can also cause unintended offense. Understanding these variations is crucial for effective cross-cultural communication, emphasizing the importance of context and awareness in avoiding misinterpretations and fostering mutual respect.
7.3. Personalizing Your Gesture Style
Personalizing your gesture style involves adapting hand movements to reflect your identity and cultural background. Understanding the significance of gestures from resources like “signification gestuelle des mains PDF” can help tailor your expressions. Be mindful of cultural norms to avoid misinterpretations. Experiment with gestures that align with your personality and intent, ensuring they feel natural. Practice mindfulness to convey authenticity, and learn to adapt your style in diverse settings. This approach fosters clear communication and leaves a lasting impression in personal and professional interactions.

Resources for Further Learning
Explore PDF guides, eBooks, and online courses to deepen your understanding of hand gesture significance. Discover recommended books and tutorials for practical insights and applications.
8.1. Recommended Books on Hand Gestures
Discover insightful books on hand gestures, such as “The Language of Hands” and “Mudras: Ancient Gesture of Power”. These resources explore cultural, spiritual, and psychological aspects, offering practical guides for understanding and mastering hand gestures. “Hand Gestures: A Cultural Perspective” delves into global interpretations, while “The Art of Mudras” provides detailed techniques for meditation and energy alignment. These books are essential for anyone seeking to deepen their knowledge of hand gesture significance and its applications.
8.2. Online Courses and Tutorials
Explore online courses and tutorials that delve into the significance of hand gestures. Platforms like Coursera and Udemy offer courses on non-verbal communication, focusing on hand gestures in various cultures. Tutorials on YouTube and specialized websites provide step-by-step guides to mastering mudras and their spiritual meanings. These resources are ideal for learners seeking to understand the cultural, psychological, and spiritual dimensions of hand gestures. They also include practical exercises and downloadable PDF guides for deeper exploration, making them accessible to both beginners and advanced learners.
8.3. PDF Guides and Research Papers
PDF guides and research papers provide in-depth insights into the significance of hand gestures. Resources like “Hand Gesture Significance: A Cultural Exploration” and “Mudras in Yoga and Meditation” offer comprehensive analyses. Websites such as Academia.edu and ResearchGate host scholarly articles on gesture psychology and cultural interpretations. These documents are invaluable for researchers and enthusiasts alike, offering detailed explanations and visual aids. Downloadable guides like “108 Mudras for Spiritual Growth” further enhance understanding, making them essential tools for exploring hand gesture meanings.
Hand gestures are a universal language, conveying emotions, intentions, and cultural values. By exploring their significance, we enhance communication, foster empathy, and deepen our understanding of human expression.
9.1. Summary of Key Points
Hand gestures are a universal language, conveying emotions, intentions, and cultural values. They play a vital role in non-verbal communication, revealing thoughts and psychological states. Across cultures, gestures carry specific meanings, from spiritual practices like mudras to everyday expressions. Understanding these gestures enhances empathy, improves relationships, and bridges linguistic gaps. Their significance spans art, history, and technology, offering insights into human behavior and expression. By exploring hand gestures, we gain a deeper appreciation for their impact on communication and connection.
9.2. The Future of Gesture Studies
The future of gesture studies lies in interdisciplinary research, blending psychology, anthropology, and technology. Advances in AI and machine learning will enhance gesture recognition, enabling new applications in communication and human-computer interaction. Cultural exchanges will deepen understanding of global gesture practices, fostering empathy and collaboration. As technology evolves, gesture studies will uncover new insights into non-verbal expression, revolutionizing fields like education, mental health, and cross-cultural communication, ultimately enriching our understanding of human connection and expression.
9.3. Encouragement to Explore Further
Exploring the significance of hand gestures offers a fascinating journey into non-verbal communication. With resources like PDF guides, books, and online courses readily available, delving deeper into this topic is accessible to everyone. Whether you’re interested in mudras, cultural gestures, or psychological insights, these materials provide a wealth of knowledge. Embrace the opportunity to enhance your understanding and improve your communication skills. The world of hand gestures is rich with meaning, waiting to be discovered and applied in your daily life.